How to Read Blurry Text on Screenshots and Documents
We have all been there: someone sends you a screenshot of an important address, a confirmation code, or a scanned receipt, and the text is an unreadable blur. You zoom in, squint at the pixels, and still cannot make out a single word. Whether it is a compressed WhatsApp image, a low-resolution screen capture, or a poorly scanned document, blurry text is one of the most frustrating everyday digital problems.
The good news is that you do not have to give up. In this guide, we will walk through exactly why text becomes blurry in screenshots and documents, and then cover four practical methods to recover that lost clarity, from AI-powered tools to free mobile apps to manual editing techniques.
Why Text Becomes Blurry in Screenshots and Documents
Before jumping into fixes, it helps to understand what causes the problem. Text does not just "become blurry" randomly. There are specific, predictable reasons, and knowing them helps you both fix existing issues and prevent future ones.
Screenshot Compression
This is the single biggest culprit. When you take a perfectly crisp screenshot and send it through a messaging app, the platform compresses the image to save bandwidth and storage. The problem is that each platform compresses differently, and text suffers more than photos because even a tiny loss of sharpness around letter edges makes characters unrecognizable.
WhatsApp is notorious for aggressive compression, often reducing image quality by 60-70%. Discord and Slack also compress uploads, though usually less aggressively. iMessage preserves better quality when both sender and receiver are on Apple devices, but falls back to MMS compression otherwise, which can be devastating for text readability.
Low-Resolution Screen Captures
Not all screenshots are created equal. If you capture your screen at a lower resolution, the text may look fine at the original zoom level but become illegible when cropped or enlarged. This is especially common when screenshotting content on older monitors, budget phones, or when using system-level scaling that reduces the effective capture resolution.
Remote desktop sessions are another frequent source of low-resolution captures. Tools like TeamViewer, AnyDesk, and even built-in remote desktop reduce the visual fidelity to maintain real-time performance, and any screenshot taken during such a session inherits that lower quality.
Scanned Document Quality Issues
Physical document scanning introduces its own set of problems. Scanning at low DPI (dots per inch) is the most common mistake. At 72 or 96 DPI, text that looked perfectly sharp on paper becomes a fuzzy mess in the digital file. Misalignment during scanning, where the paper is slightly rotated or not flat against the glass, adds motion-blur-like distortion. And some scanners simply have dirty glass or worn sensors that introduce consistent softness across the entire scan.
Fax-to-PDF conversions are particularly problematic, as they often combine extremely low resolution with aggressive JPEG compression, producing documents where even large headings can be difficult to read.
JPEG Compression Artifacts
JPEG compression works by grouping pixels into 8x8 blocks and discarding fine detail. This is acceptable for photographs but destructive for text. The sharp edges of letters get smeared into blocky artifacts, and thin strokes like those in letters such as "l", "i", or "t" can partially disappear. Each time a JPEG is re-saved, the compression compounds, making the text progressively worse. A screenshot that has been saved, cropped, and re-saved as JPEG three or four times can become completely unreadable.
Tip: Different platforms degrade text differently. WhatsApp applies heavy lossy compression. Discord uses moderate compression but also downscales large images. Email clients may re-encode inline images. Understanding the source of your blurry image helps you choose the right recovery method.
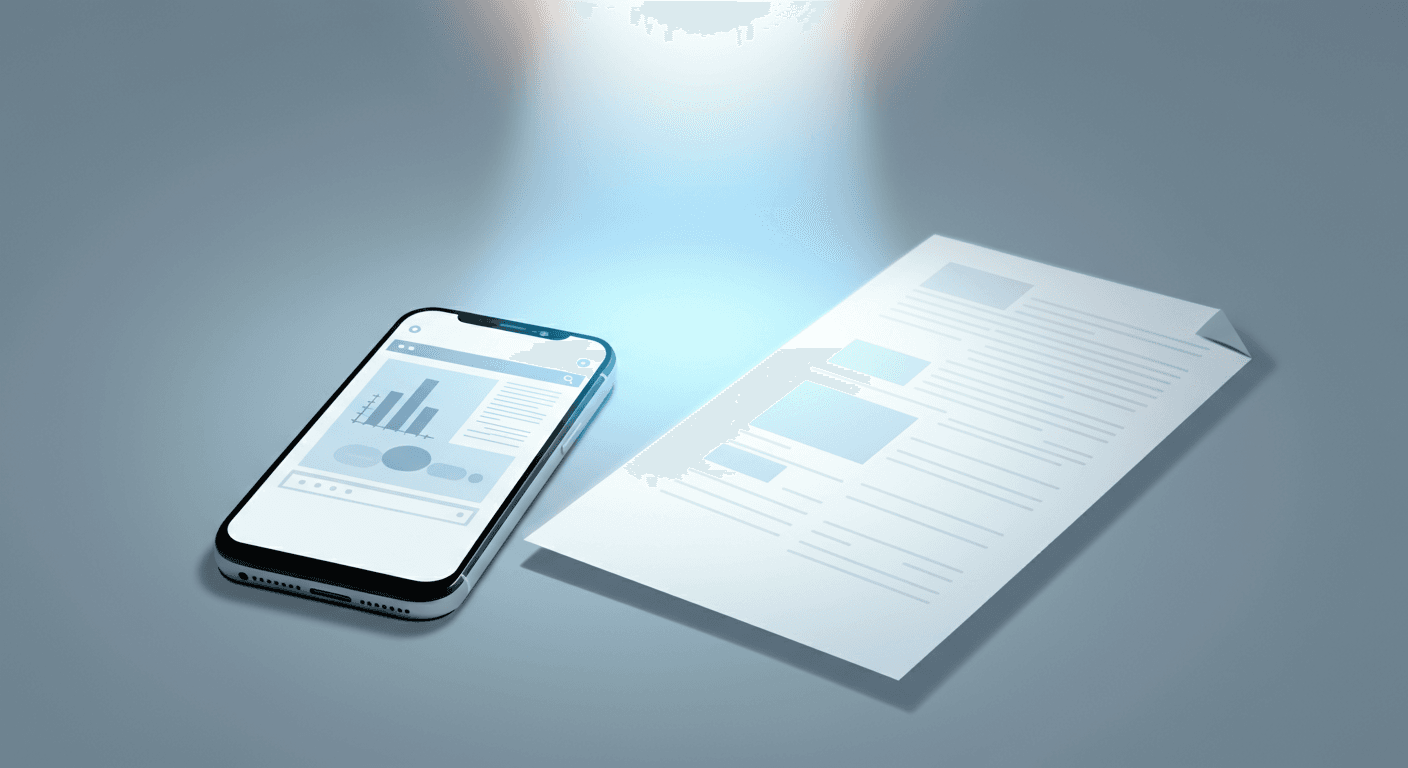
Method 1 -- AI Enhancement (Fastest Solution)
AI-based image enhancement has become remarkably effective at recovering blurry text. Modern models are trained on millions of text images and can intelligently reconstruct letter shapes, distinguish between similar characters, and fill in detail that simple sharpening cannot recover.
How to use ClariText for blurry text recovery:
- Go to ClariText and upload your blurry screenshot or scanned document
- Choose between Fast Mode for quick results or Pro Mode for maximum clarity on severely degraded images
- The AI analyzes the image, identifies text regions, and applies targeted enhancement
- Download the enhanced image or use the built-in OCR to extract the text directly
This approach works for virtually all types of blurry text images: compressed screenshots from messaging apps, low-resolution screen captures, scanned documents, and even photographed whiteboards or printed pages. The AI handles the heavy lifting of figuring out what the original text likely said, which is something that traditional sharpening tools simply cannot do.
Best for: All types of blurry text images, especially when you need results quickly and do not want to fiddle with manual settings.
Method 2 -- Use Google Lens or Apple Live Text (Free, Mobile)
If you are on a phone and need to extract text from a blurry image quickly, the built-in recognition tools on both Android and iOS can be surprisingly helpful. They will not enhance the image itself, but they can often read text that your eyes cannot.
Google Lens (Android and iOS)
Google Lens uses Google's OCR technology to recognize text in images. Open Google Lens (or use it through the Google app), point it at the blurry image or import the image from your gallery, and tap "Text." Lens will highlight recognized text and let you copy it directly.
For blurry text, Lens works best when the text is only mildly degraded. It handles JPEG artifacts and moderate compression reasonably well, but struggles with severely blurred or very low-resolution text. One useful trick is to take a screenshot of your blurry image at maximum zoom, which sometimes gives Lens a better input to work with.
Apple Live Text (iOS and macOS)
On iPhone, iPad, and Mac, Live Text is built into the Photos app and works automatically. Open a photo containing text, and if iOS recognizes it, you will see a small text icon in the corner. Tap it, and you can select and copy the recognized text.
Live Text is particularly convenient because it works directly in the Photos app, in Safari, in Quick Look, and even in the Camera app. For screenshots already on your device, simply open them in Photos and check if Live Text can extract the content. Like Google Lens, it works better on mildly blurry text than severely degraded images.
Best for: Quick text extraction on mobile when the blur is moderate and you just need the text content, not a clearer image.
Method 3 -- OCR for Scanned Documents
When dealing with scanned documents specifically, whether PDFs, TIFFs, or scanned images, dedicated OCR (Optical Character Recognition) tools offer features tailored to document workflows.
Adobe Acrobat Pro
Adobe Acrobat Pro includes an "Enhance Scans" feature designed specifically for this use case. Open your scanned PDF, go to Tools, then select Enhance Scans. Acrobat will automatically deskew pages, adjust contrast, sharpen text, and run OCR to create a searchable text layer. The "ClearScan" option goes further by replacing bitmap text with actual font-based text, producing dramatically cleaner results for mildly blurry scans.
This is a paid tool, but if you regularly work with scanned documents, the investment pays for itself quickly.
Google Docs OCR
Here is a free method that many people do not know about: Google Drive has built-in OCR for images. Upload your blurry scanned image (JPEG, PNG, GIF, or PDF up to 2MB) to Google Drive. Right-click the file and select "Open with Google Docs." Google will create a new document containing the extracted text below the original image.
The accuracy depends on the image quality, but for moderately blurry scans, the results are often surprisingly good. This method is completely free and requires no software installation.
Microsoft Lens
Microsoft Lens (formerly Office Lens) is a free mobile app that acts as a portable scanner with built-in enhancement. While it is primarily designed for capturing new scans, you can also import existing images. Lens will automatically crop, straighten, and enhance the image for better readability, then let you save it as a PDF, Word document, or PowerPoint file with OCR text.
For documents that were poorly scanned originally, re-processing them through Microsoft Lens can significantly improve readability.
Best for: PDF documents, multi-page scans, and formal document workflows where you need searchable, editable text output.
Method 4 -- Manual Enhancement (Photoshop or GIMP)
When automated tools do not quite get the result you need, or when you need precise control over the enhancement, manual image editing gives you the most flexibility. Both Adobe Photoshop (paid) and GIMP (free, open-source) can handle this workflow.
The basic process:
-
Upscale the image. Use Image then Image Size in Photoshop (or Image then Scale Image in GIMP) to increase the resolution by 200-400%. Use the "Preserve Details 2.0" resampling method in Photoshop for best results. Larger images give the sharpening algorithms more data to work with.
-
Sharpen selectively. Apply an Unsharp Mask (Filter then Sharpen then Unsharp Mask) with settings around Amount 150%, Radius 1-2px, Threshold 0-3. For text specifically, a higher amount with a lower radius tends to work best, sharpening the fine edges of letters without creating harsh halos.
-
Adjust contrast. Use Levels or Curves to increase the contrast between the text and the background. For dark text on a light background, pull the dark point darker and the light point lighter. This makes the text pop out from the background and compensates for the washed-out appearance that blur often causes.
-
Apply threshold (optional). For black-and-white text documents, applying a threshold adjustment can produce dramatic improvements by forcing every pixel to be either pure black or pure white, eliminating the gray blur between characters.
This approach requires more skill and time than the other methods, but it gives you granular control. You can target specific areas of the image, experiment with different filter combinations, and undo individual steps until you get the result you want.
Best for: Specific edits where AI tools do not get the exact result you need, or when you need to enhance only part of an image while leaving the rest unchanged.
How to Prevent Blurry Screenshots
The best solution to blurry text is preventing it in the first place. Here are specific, actionable steps:
Use native screenshot tools. On Windows, use the Snipping Tool or Win+Shift+S. On Mac, use Cmd+Shift+4 or Cmd+Shift+5. On phones, use the built-in screenshot function. These produce full-resolution, lossless captures. Avoid third-party tools that compress the output by default.
Send images as files, not inline. In messaging apps, sending a screenshot as an inline image triggers compression. Instead, send it as a document or file attachment. On WhatsApp, tap the attachment icon and choose "Document" instead of "Gallery." On Slack, the file upload generally preserves quality better than pasting from clipboard.
Capture at higher resolution. If you know you will need to zoom in on the text later, capture at the highest resolution available. On Mac, Retina displays produce 2x resolution screenshots by default. On Windows, ensure your display scaling is set to 100% before capturing, or use the Snipping Tool which captures at native resolution regardless of scaling.
Use PNG instead of JPEG. For any screenshot containing text, PNG is almost always the better format. It uses lossless compression, meaning every pixel is preserved exactly. JPEG introduces compression artifacts around text edges even at maximum quality settings. If you must use JPEG, set the quality to 95 or higher.
For physical documents, scan at 300 DPI or higher. Most scanners default to 150 DPI, which is insufficient for small text. Set it to 300 DPI for standard documents and 600 DPI for documents with fine print or small fonts. The files will be larger, but the text will remain crisp.
Platform-Specific Tips
Different platforms handle images differently, and knowing the quirks of each can save you from blurry text problems entirely.
WhatsApp applies some of the most aggressive image compression of any major messaging platform. Photos and screenshots sent through the standard photo picker are typically compressed to around 100KB, regardless of their original size. For text-heavy images, this is devastating.
The fix: Always send screenshots as documents. Tap the attachment (paperclip) icon, select "Document," then browse to your screenshot in your file manager. The file will be sent at full quality with no compression. You can also send via "Uncompressed" in newer WhatsApp versions where available.
iMessage
iMessage quality depends on how the message is sent. Between Apple devices on iMessage (blue bubbles), images are sent at high quality with minimal compression. But when falling back to SMS/MMS (green bubbles) to non-Apple devices, images are heavily compressed and often resized to as low as 640px wide.
The fix: For important text-heavy screenshots being sent to non-Apple devices, use AirDrop, email, or a cloud sharing link instead of relying on the SMS fallback. Within iMessage, you can also send the screenshot as a file by selecting it from the Files app rather than the photo picker.
Discord
Discord compresses uploaded images and enforces size limits based on the server's boost level. Free servers limit uploads to 25MB, but Discord also re-encodes images, which can reduce quality even for smaller files. Nitro subscribers get higher limits and slightly better quality retention.
The fix: Upload screenshots as file attachments rather than pasting them inline. For critical text, consider uploading the screenshot to a cloud service and sharing the link instead. Alternatively, use the "Spoiler" attachment option, which sometimes preserves slightly higher quality since it is not displayed inline.
Slack
Slack compresses images for preview but retains the original file when downloaded. The preview shown in the chat may look blurry, but clicking "Download" will get you the full-quality original in most cases.
The fix: When someone sends you a blurry-looking screenshot in Slack, always try downloading the original file before assuming the quality is lost. For sending, drag and drop files rather than pasting from clipboard, as clipboard pasting sometimes introduces additional compression.
Email clients handle images in varied ways. Inline images (embedded in the email body) are often compressed and resized by the email client. Gmail, for instance, may downscale large inline images. Outlook sometimes re-encodes images when they are pasted directly.
The fix: Always attach screenshots as files rather than pasting them inline in the email body. Use PNG format and ensure the email is not being sent through a corporate gateway that applies additional compression. When receiving blurry inline images, check if there is a "Download original" or "View full size" option.
Frequently Asked Questions
Can AI really read blurry text from screenshots?
Yes. Modern AI models trained on text recognition can recover text from surprisingly degraded images. They work by understanding the patterns and shapes of letters, essentially "guessing" what characters are most likely based on the remaining visual information. For moderately blurry text, accuracy rates above 90% are common. For severely degraded images, results vary, but AI consistently outperforms traditional sharpening.
What is the best free tool for blurry screenshots?
For quick text extraction, Google Lens (Android/iOS) and Apple Live Text (iOS/macOS) are excellent free options. For scanned documents, Google Docs OCR is surprisingly effective and completely free. For image enhancement specifically, GIMP is a powerful free option if you are willing to learn the manual workflow.
How do I fix a blurry scanned PDF?
Start with Adobe Acrobat Pro's "Enhance Scans" feature if you have access to it. For a free alternative, try uploading individual pages to Google Drive and opening with Google Docs for OCR extraction. For the best results on severely blurry scanned documents, use an AI enhancement tool like ClariText to improve the image quality first, then run OCR on the enhanced result.
Why does WhatsApp make my screenshots blurry?
WhatsApp compresses all images sent through its photo/gallery picker to reduce bandwidth and storage costs. This compression is optimized for photographs, where some quality loss is acceptable, but is destructive for text, where even small amounts of blur make characters unrecognizable. The solution is to send screenshots as documents (via the attachment menu, selecting "Document") which bypasses the compression entirely and sends the file at its original quality.
Conclusion
Blurry text in screenshots and documents is frustrating, but it is almost always recoverable. For the fastest results, AI enhancement tools like ClariText can handle everything from compressed WhatsApp screenshots to poorly scanned documents in seconds. For quick mobile extraction, Google Lens and Apple Live Text are free and convenient. For document-heavy workflows, dedicated OCR tools like Adobe Acrobat or Google Docs offer structured solutions. And for precise control, manual editing in Photoshop or GIMP gives you complete flexibility.
The most important takeaway, though, is prevention. Use PNG format for text screenshots, send images as file attachments rather than inline photos, and scan documents at 300 DPI or higher. A little care at the capture stage saves a lot of recovery effort later.
Ready to recover the text hiding in your blurry screenshots? Try ClariText and get clear, readable results in seconds.